- Introductory components
- Installing the CPU & memory
- Casing & installing the motherboard (aka mobo)
- Graphics, soundcard & add-on cards
- Internal & external media drives installation
- Cabling, PSU, case LED lights & power button
- Additional cabling for output ports
- Finishing touches, power on self test (POST) & BIOS
- Operating system installation (Win XP)
Casing and installing the motherboard
With the processor mounted on the board, it’s time to mount the motherboard into the case itself. This have to be done before the introduction of the various components I will be using thereafter. So lets get on the next step of actually building the PC. Once in, all the various components can follow and be connected to it.
First off, the casing
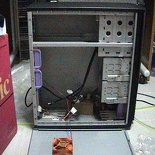
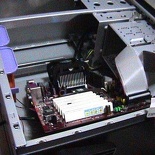
The casing is one of the most important unit of the whole PC, as of course it houses all the necessary components for operation. Well, unless if you want to run your bare PC case less, that’s an exception- This is one thing you shouldn’t miss. Going into more detail on the casing now, this Thermal take casing I’ve got is a mid-tower server casing which can take ATX sized boards or larger. M-ATX are compatible too as well given the standards for dimensional mounting holes across all sizes of motherboard.
It have four 5.25″ external bays, two 3.5″ and four 3.5″ internal bays (removable bay cages).
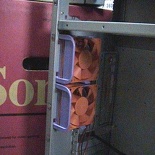
This is an air cooled case, so fans will be the talk of the town here. Fan wise, Thermal take has really decided to put all they’ve got into their first line of casing, firstly with their fans. At the front we have one single fan mounted in one of the hard drive removable cages. There is also one as a standard system fan at the bottom front. At the side, we have one side blowhole intake fan mainly used to blow fresh air into the processor and graphic card area.
At the back, there are two exhaust fans primary used to expel heat from the processor and board components.
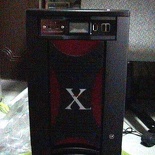
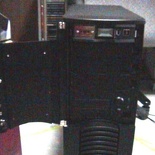
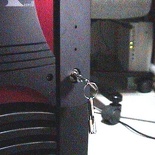
Ok, now to the front exterior- and say!.. they’ve even included a lock and sets of keys for the front and side door. This door is heavy- made completely of bolted solid steel with several metallic pieces mounted and screwed together, giving it that very solid sleek finish. It’s just a pity that for a door this solid, it’s let down by a dingy plastic latch which is the swiveling attachment for the key lock.
Getting the Motherboard in
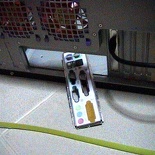
First off, one the the main things we have to check before happily screwing the alignment of the board is the back output panel. Obviously, most case-manufacturers do not know what kind of boards you are using and always include a standard output panel which don’t always seem to fit your configuration. That is when the mobo manufacturer come to the rescue- by including in the package, their own cut out panel.
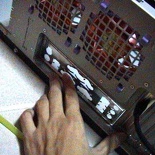
To remove the original back panel, gently use a screwdriver to poke the small securing popped out dots around the edges of the aluminum panel, do so for about majority of them on each side and the a final jerk will force it out nicely unharmed. These back panels are usually tacked evenly around it’s circumference, so just knocking them out will be good enough. One you’ve got that generic panel out, clip in your own glove fitting back panel as provided by your motherboard manufacturer.
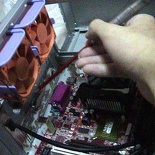
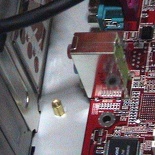
Once you’ve got that settled, check the internal side surface of the casing for motherboard spacers (These are the golden stubs we see in Fig 3.2). Spacers are screws which screws in one end and have openings at the top that allows other screws to be mounted onto them. Such spacers are used to actually, space the board from the being in contact with the casing surface. If the casing manufacturer hasn’t pre-screwed them in for you, pop in the motherboard & locate the alignment of mounting holes from your motherboard with the drilled holes on your casing panel and screw them in appropriately.
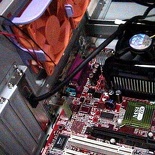
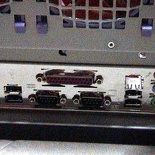
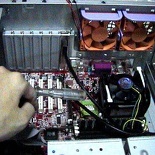
After getting the spacers in, slowly lower the motherboard on them (Fig 3.3) and get the output motherboard ports to stick out of the back panel. (Fig 3.4) Everything should go well and fit like a glove as most casing and motherboard makers adhere to the same standard ATX dimensions on screwing holes, alignments etc.
Finally, start on the repetitious task of securing all the screws securely into the spacers themselves. It took me quite some time getting all the nuts in, but maybe I think it was just me as its not easy holding the board with one hand and screwing it in freely with the other! When the board and processor finally in and secured. Give yourself a pat on the back you’ve cleared one major huddle. it’s time to add the add-on cards next.
- Introductory components
- Installing the CPU & memory
- Casing & installing the motherboard (aka mobo)
- Graphics, soundcard & add-on cards
- Internal & external media drives installation
- Cabling, PSU, case LED lights & power button
- Additional cabling for output ports
- Finishing touches, power on self test (POST) & BIOS
- Operating system installation (Win XP)

