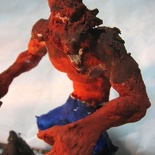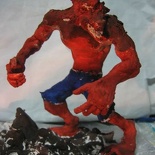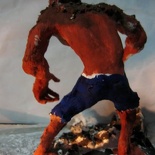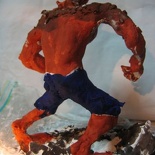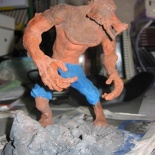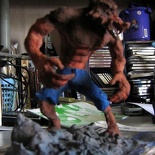
With your sculpture detailed and ready, now it’s time to add one splash of colour with some paint, then finishing it to lock them in.
Prechecks
Ensure that your model had completely dried out before attempting to paint. The painting process by itself will soften surface clay by a considerable extent, painting on wet clay will result in further lost of details on the model’s surface, to to mention paint smudging.
Also check for cracks on your model’s surface which may form overnight due to the settling of the sculpture. This is a natural process and is nothing to be alarmed about. Be rest assured that provided if your model don’t break apart by itself, minor cracking is the result of the eventual settling of the clay structure itself. Fill and patch up with pre-softened watery clay and leave to dry for about half a day before attempting to paint again.
Applying the base paint coat
White clay & masking tape are porous in nature, providing a very good adhering surface for poster paint, which is the primary type of paint I will be using, besides being both cheap and effective for the job.
Use a moistened paint brush dapped with poster colour of choice, brush with short strokes all aligned in one direction (i.e keep all paint strokes consistent, left-right or top to bottom and not all over the place) so the paint job will actually appear neater. The general mix ratio is 50-60% poster paint and 40-50% water for a quick fast base coat.
The base coat is generally a step to get the right main colours in the right place.With this drying coat of paint, reapply the secondary coat of paint, this time, with the varying shades and detail.
Painting details
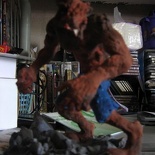
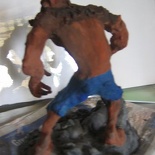
Generally, bright and dark shades of the primary base colour (i.e brown in my case) can be achieved by mixing the master brown colour with varying amounts of white or black paint for respective lighter (for reflections) and darker (for shadows and corners) shades. As shown, I also made the top shoulder fur relatively darker, as most werewolves have this mane like layer.
Moreover, at times, you can keep the paint mixture relatively watery so as it can fill holes and crevices your sculpture may have, this allows the paint to “flow” into gaps otherwise can’t be reached by your brush. Painting the fine corners and edges of the rock formation was relatively easier with a medium brush on this technique and it can be done without damaging the brush or lose any detail on the rock formation details itself as shown below. The same can be said for other hard to reach areas your figure might possibility have.
The finishing job
You will be more of less done after the base and detailing base coat. The last finishing paint coat is usually done with medium-fine brushes to paint in intricate details such as the mouth, fangs, tongue, battle scars, wounds, fur shadows & general reflections. If there is a need for some fine outlines or detailing (e.g the mechanism on weapons, clothing straps, wrinkles etc) I will recommend fine artist sketching pens or Gundam markers you can find in your local hobby shop. They are tad expensive though, but excellent permanent all-surface markers you can have in your inventory.
Clear Lacquer? It’s optional
It is optional to apply clear lacquer onto your model. However, if you wish to give your sculpture a smooth reflective finish, seal the paint and give your sculpture a considerable strength against any possible freak water spills you might so-unexpectedly encounter, please do so. I didn’t apply any in my case as and unfinished look was what I was looking for, so I required a dull look on my sculpture and not some showroom shiny finished gleaming carnivorous werewolf.
Ultimately, it’s a matter of weighing the preferences, needs and requirements of your model. Flat matte lacquers will still add some shine to your model, so it’s not much of a different to normal clear lacquers. Also if you are intending to store your model in a sealed display case, you can also forgo the sealing lacquer completely too. Moreover, its generally easier to do repair and touch-ups on your model in the near future when the paint is not sealed in too. Though you can always apply layers on top of the old coat if need be.
And there we have it the finished werewolf clay sculpture in all it’s mean glory!
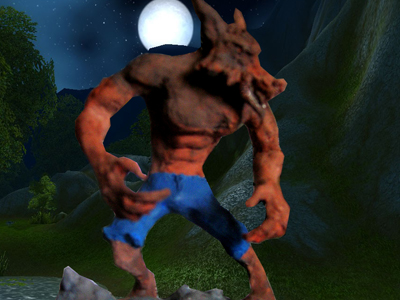
That’s all folks! This very much concludes my tutorial on figure clay sculpting, from the planning phase to skeleton building to clay application, painting and the eventual finishing. A low-cost yet very rewarding hobby I can say. Clay sculpting is all not just about cups and jugs! There are endless possibilities in the types of models your can make, it’s all up to your imagination!

