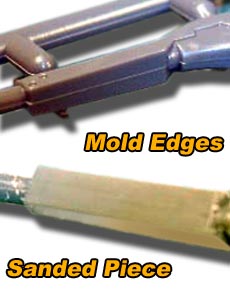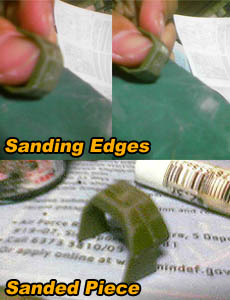
- Intro, cutting & sanding pieces
- Priming & painting
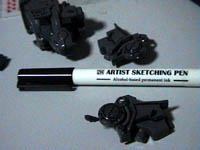
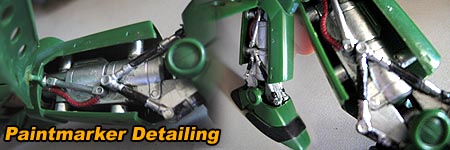
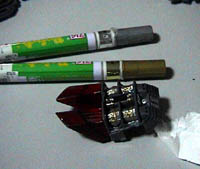
- Detailing
- Assembling & decalling
- Posing & finishing
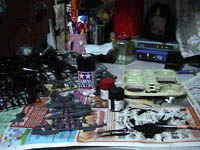
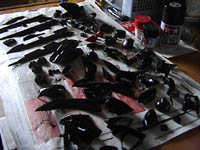
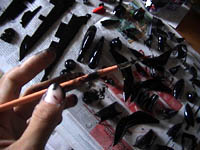
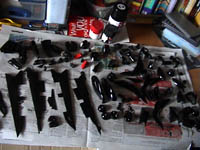
Assembling – Part assembly
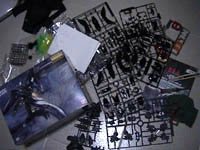
This is the point where you’ve got everything almost done, painted & awaiting the assembly phase. Besides saving you a bunch load of work space having to hold your parts laid out previously & its also one of the most critical aspects of the modeling procedure which should not be taken lightly as well, any mistakes or breakages here can cause considerable delays in all.
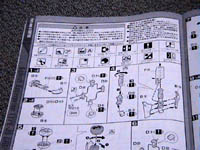
Assembly manual
This is were your assembly manual has to be consulted again. It is generally very straight forward for most Bandai kits, straight from step A-Z. With the minor exception of the kit & manual made, written & printed in Japanese. The pictorial instructions are usually more than enough to get through the assembly phase.
Some other manufactures simply provide diagrams minus the lengthy worded instructions – a preferred universal language I would say, this will usually be more than adequate to get your model up from scratch.
Just keep in mind these few pointers for assembly and your should be generally fine.
- If available, ensure that the meshing pins & holes are free of putty, primer & paint (these can build up enough thickness & cause mis-fitting trouble, use a mini screwdriver/modeler’s kinfe to remove any).
- Do not use excessive force when parts don’t mesh/fit (parts usually come together with ease, instead, dissemble it & check for the cause of the problem).
- Ensure that both seems of the fitting surfaces are clean for a good fit without gaps.
- Ensure both surfaces are clean before applying cement to only one side (ensures clean strong bond).
- More is NOT always better, lesser cement = better cleaner bond = lesser overflow = better finish.
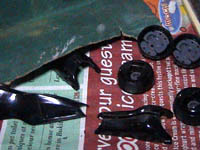
Next I will cover the part on putting the parts together. Most of the times, parts will come with well fitting plugs which will mesh together on contact. For rubber based models, it will be slightly more tricky as you will require the aid of and adhesive to bond the pieces together. For now I will cover plastic parts.
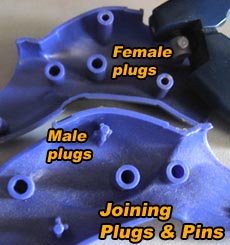
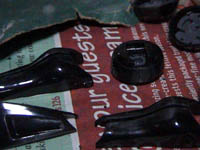
All about plugs (aka the meshing pins & holes)
A very common way to mesh 2 plastic parts together without glue/cement is the use of interlocking male & female plugs. Which can be rather effective at times. Though not as permanent as utilizing cement, do take caution however when trying to open a part already sealed using plugs.
Excessive force WILL break the pins. If need be, always separate both parts directly opposite to each other without any twisting/shearing motions. Otherwise, the safe bet is still not put the parts together until you are ready to do so, especially when there is a need for internally placed parts or joints to be inserted beforehand.
Do note that sometimes, ill-fitting parts can be caused by manufacturer’s side defects, such as longer than usual male-pins/plugs which sticks out of the plug hole when meshed. Though this is very very rare in master grade models, I can’t say the same for regular cheaper models. You can always alter the meshing parts so they can fit- shorten the male-pin by breaking it off with pliers or modeler’s knife, or you can file them thinner so they can be inserted to mesh.
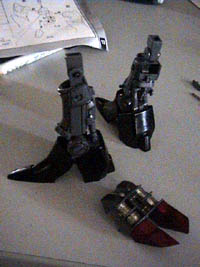
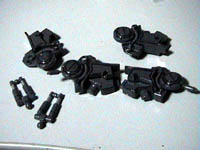
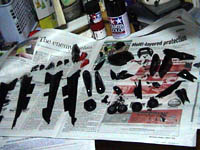
Main & Sub Assemblies
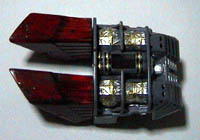
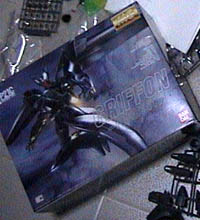
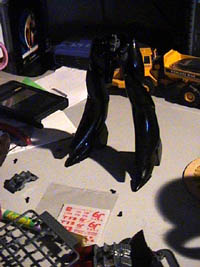
Some models require you to pre-assemble certain parts, for example each of the Griffon mechca legs requires a sub-assembly before they are added to the main body itself. This includes the internal details such as the mechanical details, followed by the joint plugs and eventually the outer leg casing itself.
Nuts & Bolts
Moreover, certain “stress loaded features” like central skeletons/limbs requires screws to hold certain parts and frames together, this is usually evident in MG models. This is where a small mini-screwdriver set will come in handy to put things in place.
Bear in mind that screw threads are usually not made/pre-drilled into the screw-containment plastic holes. So your preliminary “threading process” has to be done as accurately as possible, as that determines the final positioning the screw will sit. With the parts assembled, ensure that the screw is sitting upright & parallel to the hole, apply constant moderate force downwards while threading the screw in till the desired depth/tightness. Avoid removing the screw as repeated removal may damage & bald the screwthread.
Moreover, over-tightening screws in plastic will cause deforming, cracking & irregular joint movement, always tighten till finger tight.
Glue, a sticky situation
Here are the few most common adhesive elements used in modeling.
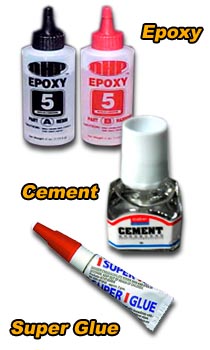
Epoxy Glue
It has very high bonding strength and can be obtained from most hardware stores. Usually sold in two separate tubes, one being the glue itself the other the catalyst “aka hardener”. It a universal glue and can be used on plastic, metal & glass.
However, it drys very slowly, though the presence of some fast drying types available in the market, called super epoxy.
Cement
One of the most widely used glue for plastics. It works by mildly melting the plastic surface and fuse them together. Good for joins with minimal seem lines. Transparent when dry, very clear & clean finish, best used for transparent objects such as lights, windscreens, cockpit covers, etc. However, it does not work for resin, rubber, soft vinyl or metal parts & drys moderately fast (10-15 mins to hold few hours to be completely crystal dry).
Super glue
One of the most universal, fastest, strongest & wicked bonding agents. Always apply very thinly on one surface before meshing the other piece & holding for about 1-2 minutes. Excessive/messy application WILL lead to whitening/smearing of the part which requires additional sanding & paint touch ups. Not recommended to be used for clear plastics, use cement instead.
Decal/Sticker Application
One of the last few finishing steps in kit modeling. Depending ont he nature of your model, you can choose to apply it before or after assembly. Most of the time it can be done after the assembly process. Such surface detailing requiring the application of printed media can come in 2 common formats, stickers or decals.
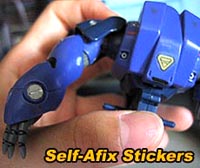
Stickers
Just like your normal conventional stickers. Just peel & apply to desired spot. Not the best in outlook as stickers usually have a considerable amount of thickness, & it will actually bulge out of the model’s surface, thus spoiling the surface smoothness. You can hide the sticker edges considerably by applying overlapping paint to the edges. Furthermore the edges can peel overtime. Mostly found in cheaper model kits.
Decalling
The most common format to apply details on your model without the edges or ugly peeling of conventional stickers. It’s usually printed flat on wax paper with very thin thickness offering a considerably high image detail. Most decal sheets come pre-cut while others require you to manually cut apart or separate the required decals before soaking to remove them for application.
With the given decal sheet & knowing what to be applied, soak the sheet for few minutes in water till they become soft. Not too long that they separate from the sheet, but soft enough so you can slide them off easily from the wax paper with a nudge.
Using a pair of tweezers, modeler’s knife or any alternative fine blunt object. Slide the decal from the sheet to the desired surface of the model, reposition & ensure that the decal piece is flat and flushed on the surface and has no kinks or wrinkled. The decals are soft and very prone to tearing once wet, so avoid using a sharp object for application of you might risk puncturing the decal itself. When dry, the decal will appear flat and embedded on the model’s surface with negligible effect to surface finish.
Now you are ready to finish of your model, head on to the next page for the conclusion of this tutorial.
- Intro, cutting & sanding pieces
- Priming & painting
- Detailing
- Assembling & decalling
- Posing & finishing