A home theater PC is very much alike a regular home PC, only that it is used mainly more for media and visual needs. Also given the increasing adoption of alternative medias such as digital content sold over the internet, as well as soft-copy video, music files over conventional mediums such as DVDs or CDs.
A home theater PC feeds the growing trend of techies who wish to live the life with the media in their iPods through their Hi-Fis and not having to organise and go through the hassle of searching through CDs or individual play lists to get them.
Article table of contents
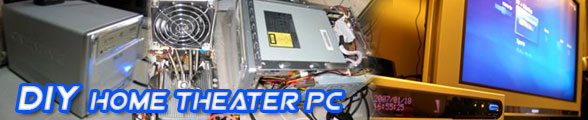
First Impressions- Creative SLiX MPC51C3
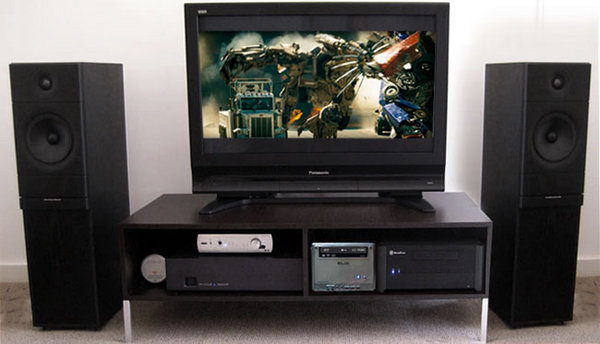
HTPC (Home theater PC) had evolved much over the years, but they still share one common trait- they are small and usually offered in a more sleek and stylish case allowing it to blend in with with your regular audio-visual equipment rack. Whether it’s sleek black, sliver or minimalistic white we are quite spoilt for choices now.
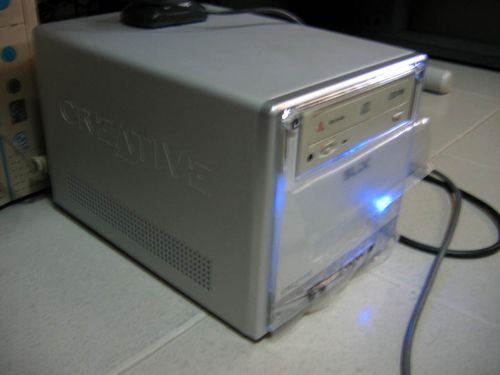
Building a HTPC (Home theater PC) is as relatively much more simpler than building a full or medium towered ATX PC, partly because of the pre-installed components mini PCs manufacturer usually offer in the barebone PC Flex ATX format. Taking the SLiX I have here as an example I will be using, it’s a shoe box PC case and has a sleek clean white front finish- which might go well and blend in quite nicely in any living room.
From what we’ve seen from other competitors in the market, for example Shuttle-X & MSI’s media PCs, Creative had too, came up with their own range of HTPCs with price & features being their selling feature. This Creative SLiX barebone retails at around $200SGD with the Audigy2 soundcard bundle option. What impresses me is not only the price considering what is bundled, but how smartly the way the unit is designed- making full use of the given space they have in the tiny unit by thoroughly integrating the motherboard & soundcard features with the included impressive front panel (spotting digital in & out, line in & out audio ports, followed by 2x USB 2.0 ports & 1x firewire port) for accessibly & convenience.
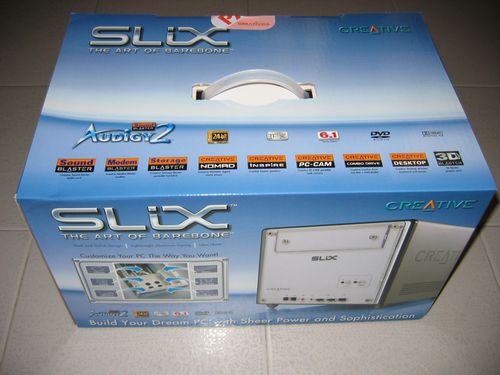
You can’t judge a box by it’s cover!
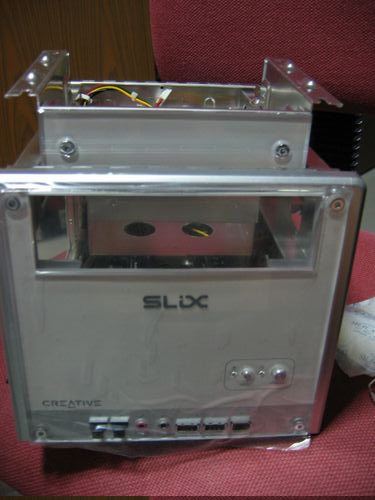
As the saying goes don’t judge a book by its cover, but Creative had surely did an impressive job for the box, printing everything out in full colour with their rather over emphasized signature: “SLiX- The Art of Barebone” logo & emblem reflected almost on all sides of the box (minus the bottom that is). However, what i find quite misleading is the printing of several excessive logos such as the modem, storage blaster, nomad, inspire, pc-cam, combo drive & 3d blaster logos on the top of box. Any layman would misunderstand & think that the featured products are actually included in the package, though Creative’s intention was a maybe display creative products which can be used or complemented with the system.
What I could recommend is maybe at least put some text stating this or something. Other than that, you can get quite a deal of information from the box itself, sometimes I even have to refer to it as the included manual don’t spot so much info, sadly. With a relatively good first impression, now lets see what we have inside.
Some blabbering on the case
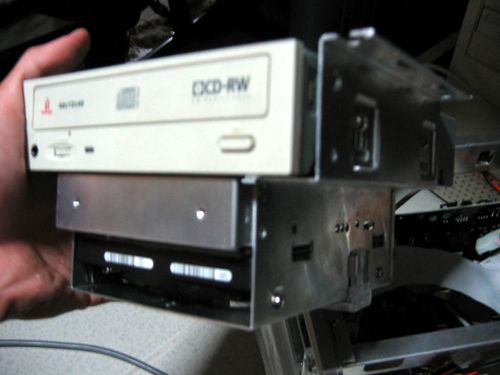
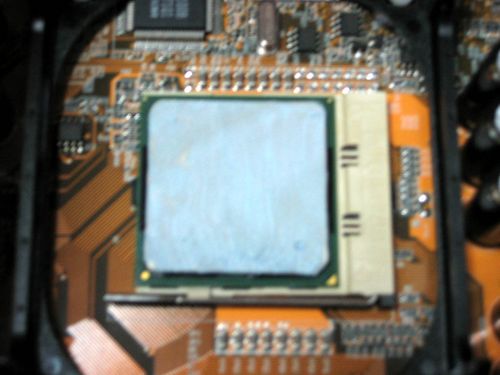
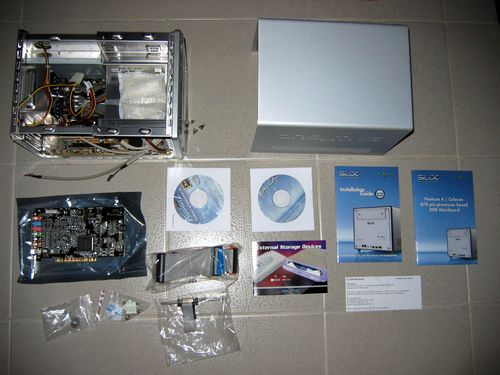
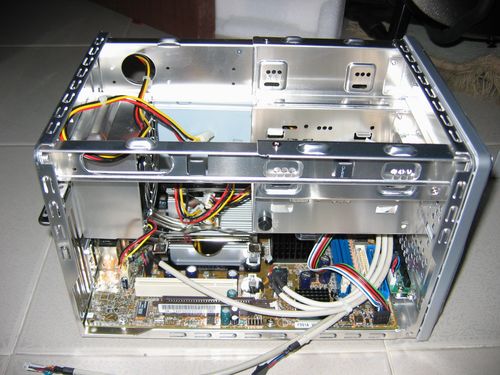
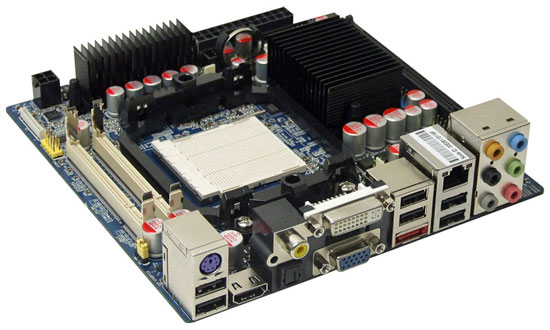
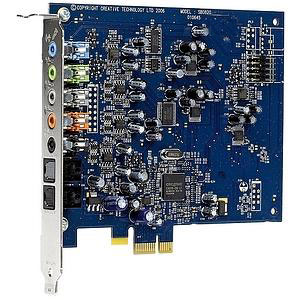
In the box you will get the SiS FS51 Flex-ATX mainboard already mounted in the casing (top left of Fig 1.0), spotting the SiS 651 Northbridge supporting Intel northwood 478-pin processors with Hyper Threading support & SiS 962 Southbridge. To its right is the casing’s outer housing followed by the bundled Audigy 2 soundcard on the middle left, application & driver cds, motherboard & installation manuals. From the bottom left we have case screws, followed by 2xIDE cabled & 1x floppy cable, a Creative product catalog & warranty card.
Here we have the case, as it is:
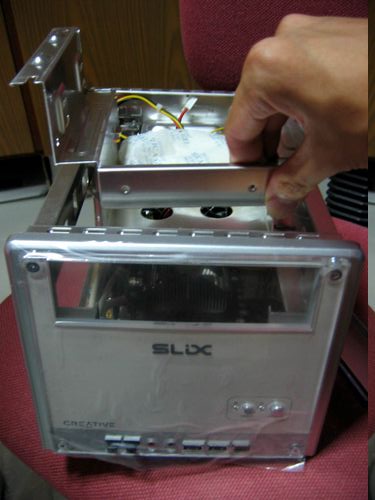
The Creative SLiX mini case
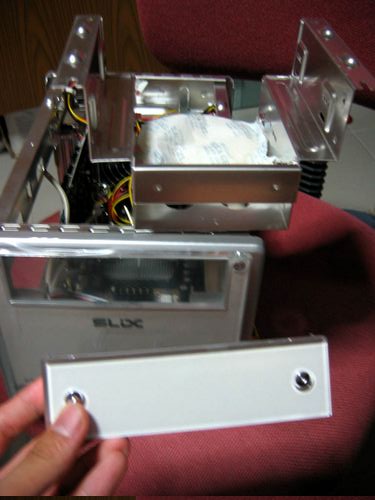
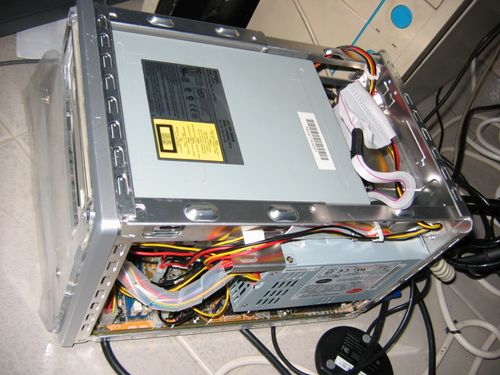
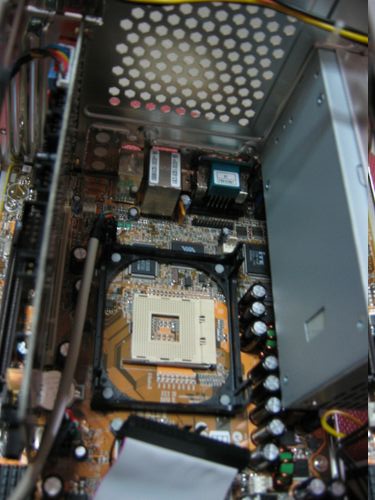
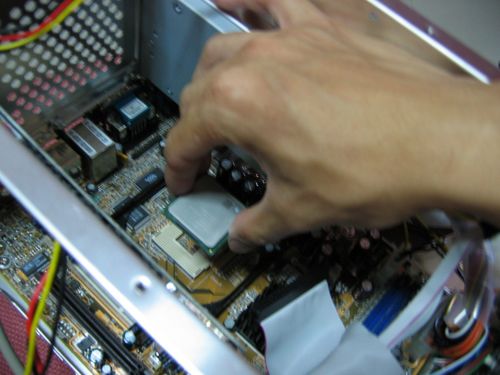
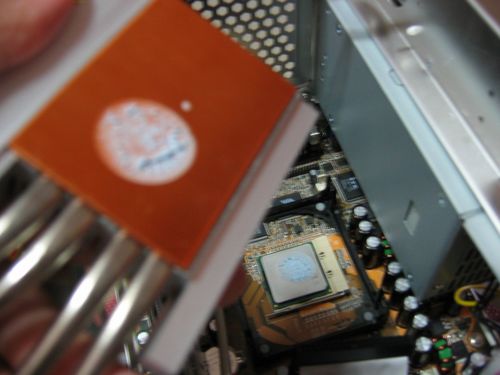
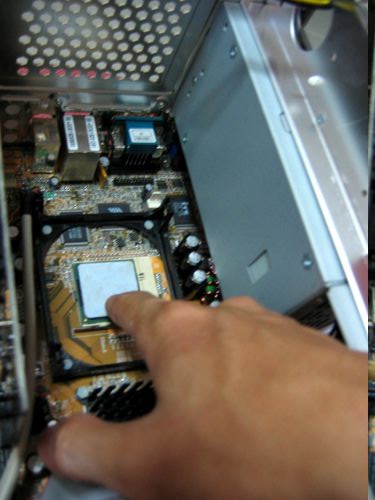
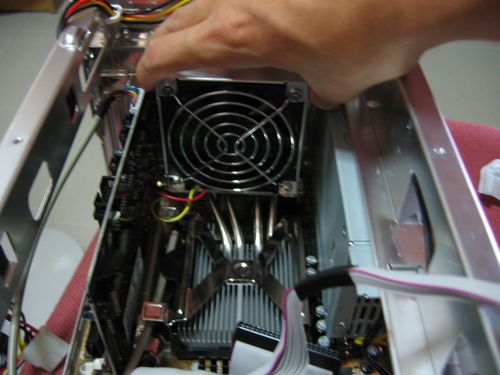
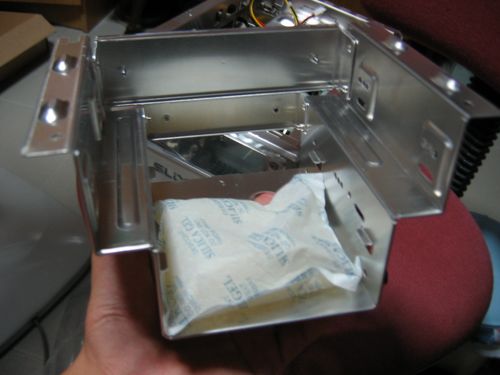
The whole case is constructed in aluminum with some steel ascents and the corners for strength, noticeably is the lightness of the exterior case cover which lifts off effortlessly after removing 3 securing screws at the back of the casing, the process is tool-less: a luxury norm to many who dislike the hassle of toying with screwdrivers. The design of the casing brings about a few limitations, due to its small size. For instance in order to access major components such as the CPU, RAM, AGP/PCI-E & PCI slots, you have to remove the upper driver cage/housing. This is done easily by removing two locking screws on the top of the case & sliding it out from the top of the case (Fig 2.0).
Installing add on cards
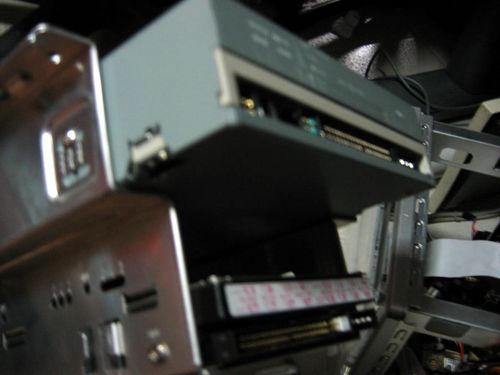
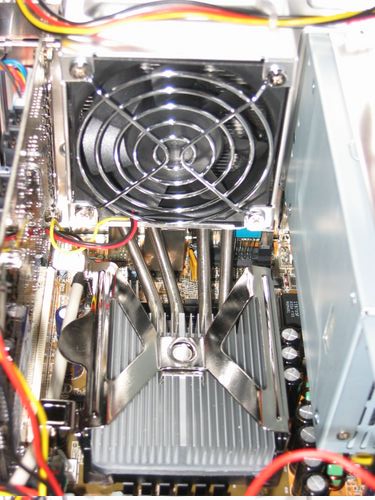
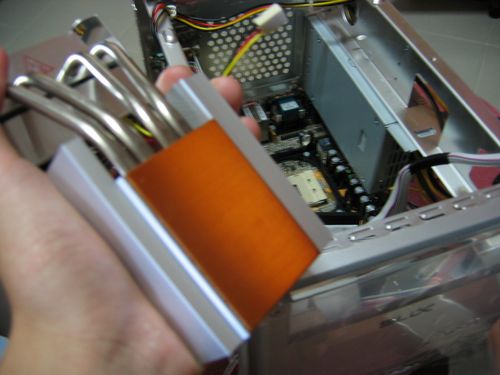
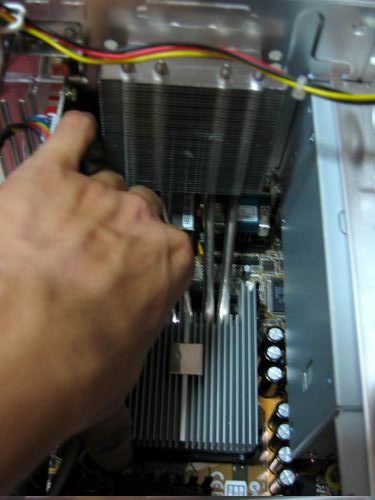
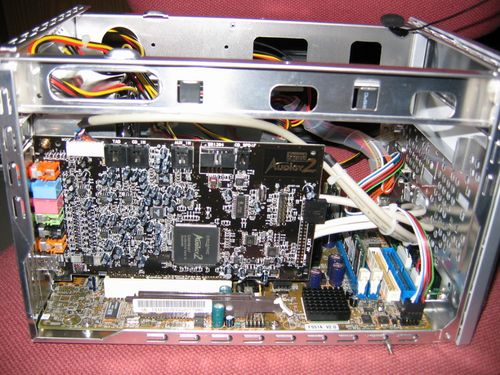
With the drive cage out of the way (Fig 3.0), then you can go about installing the soundcard, graphics card (if any, shown in Fig 3.1). Difference manufacturers usually have their own layout for the internals of the case, let be the way they are designed to be mounted, so it pays to give the instruction manual a read or two if you are stuck.
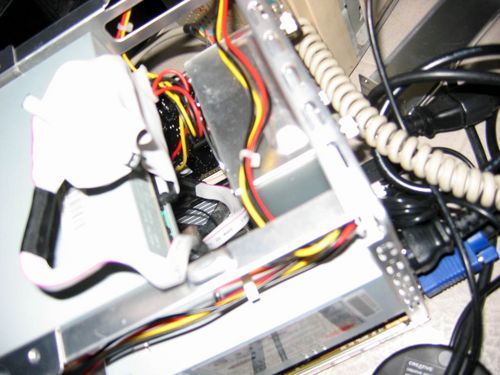
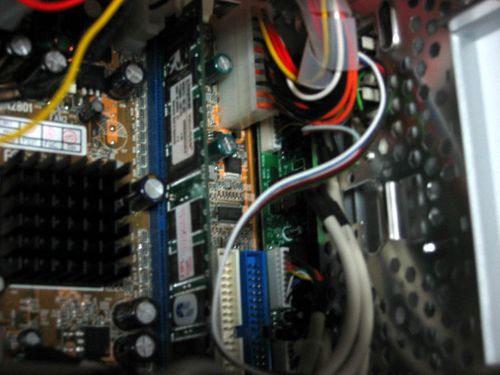
Due to its confined space, slotting in cards may resulting in sticky situations or entanglement with wires around the case, with the exception of messing up system air flow, wires are recommended to be tucked & kept nicely around the edge of the system frame so as not to cause obstruction, I will touch more on this in a later part of the tutorial.
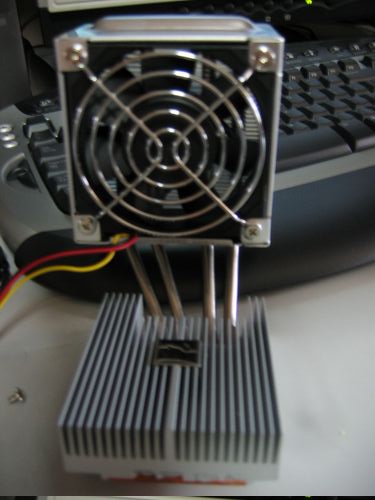
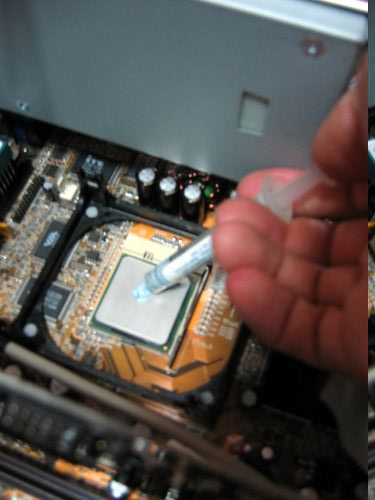
This system have onboard SiS integrated video, spotting a 32MB shared integrated graphics controller, taxing video memory from the system memory. It performs expected well on normal games at medium settings or for just the casual net surfer or word-processing job, however don’t expect it to even run to the latest high requirement games at all.
The key features of a HTPC is not much of processing power, but the ability to integrate well with your current Hi-fi home theater setup, which means able to output video to your TV and speakers.
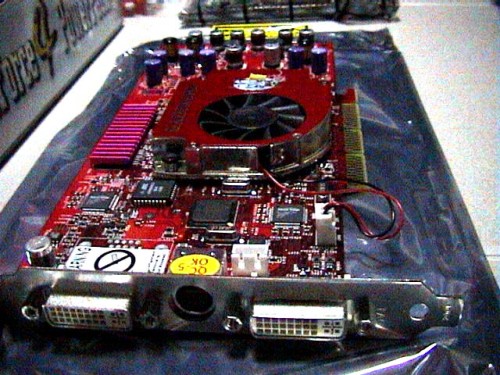
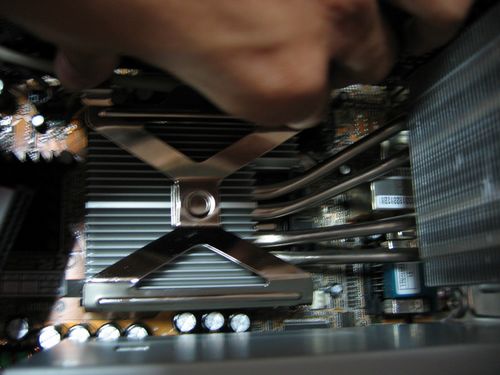
There is no TV out on this on board video, so it’s quite a bummer if you wish to hook up your PC to your TV via S-video, let be basic composite. You should always install an additional graphic card for better performance. The video card slot is usually a shorter slot located at the ends of the motherboard or on the slot nearer to the CPU, it may or may not come with a securing lever.
Despite the size of the case, it has enough space to accommodate relatively large single slot video cards (up to 22cm in length) with enough space up to the internal length of the case with the front panel wires out of the way (yes they are removable) as well as a large cooler for the graphics card as well, though a HTPC is not necessarily suited for gaming, unless you intend to do so on the big screen.
Video out
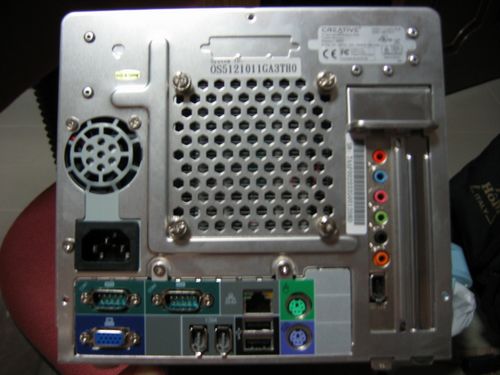
It’s pleasing to know that with most modern HTPC-dedicated boards out for sometime now, these days, HDMI, DVI-out and standard VGA out for on board motherboards are fast becoming a norm unlike this unit which I have here.
Furthermore with many LCD TVs these days accepting VGA/DVI inputs you do not need any fancy converters or messy S-video cables to deal with now, and both the TV and your graphic card will sync the maximum allowable resolution an refresh rate automatically. It’s simply just as easy as plug and play now.
Audio out
This motherboard, on the other hand, do not have onboard sound, but that differs from board to board. In this case the PCI slot is very much reserved for the bundled soundcard. Otherwise you may consider going for an external soundcard like the USB Extigy series. Otherwise the expansion options of this system is quite limited due to the system’s small size thus the lesser number of PCI card slots.
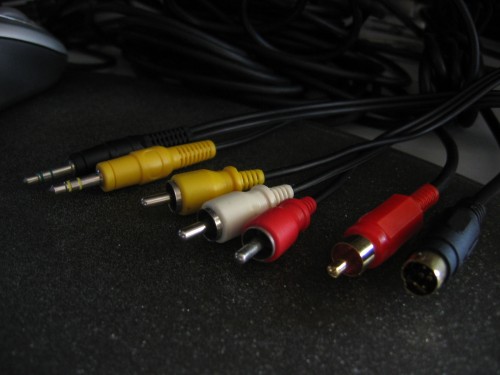
From my own experience, though these days on-board sound so offer high rated sampling sound and 6.1/7.1 surround, I will still highly recommend a dedicated soundcard for the best audio experience, even an external budget card will beat the quality of that offered by onboard sound and with 6.1 and 7.1 surround offered as standard these days in add-on sound cards (e.g from ASUS or Creative) hooking it up to your Hi-fi or amplifier with the appropriate 3.5mm to RCA stereo cables is as easy as pie.
Installing RAM
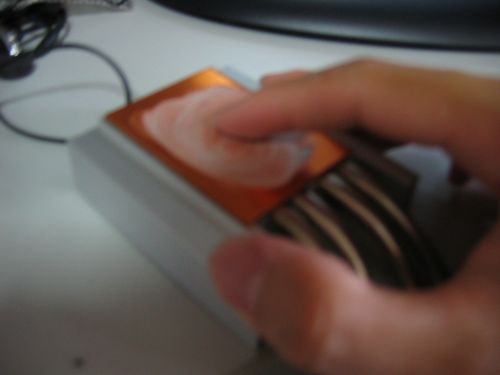
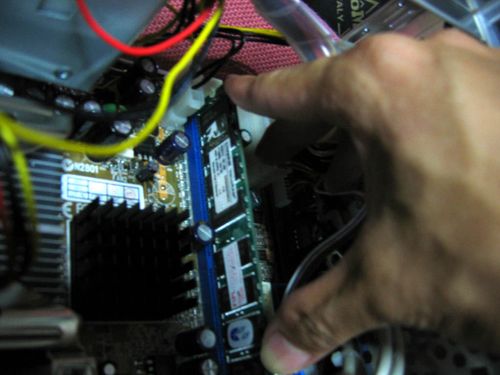
Now back to the hardware part, RAM slots are located perpendicular to the front orientation of the case. After checking for slot alignment, installation is simple by just opening up the ram securing clips & slotting the ram stick in, applying low constant downward pressure (Fig 4.0). RAM modules are usually designed to be idiot-proof and can go in only one way. Once inserted the clips will automatically lock the module in, do ensure that both clips are clicked in place otherwise your module may not be seated or inserted properly and could not be detected by the system when you turn it on later.
Article table of contents